



Inspecting a switchboard once it is made safe: which light for labels, recesses and photos?

Inspecting a switchboard? Once it is made safe, the light has four jobs.
You read the identifier, look into the recesses, take an overview photo and a detail photo, then check the record away from the board. One hand holds the camera, so the light is worn on your head or stood on the floor.
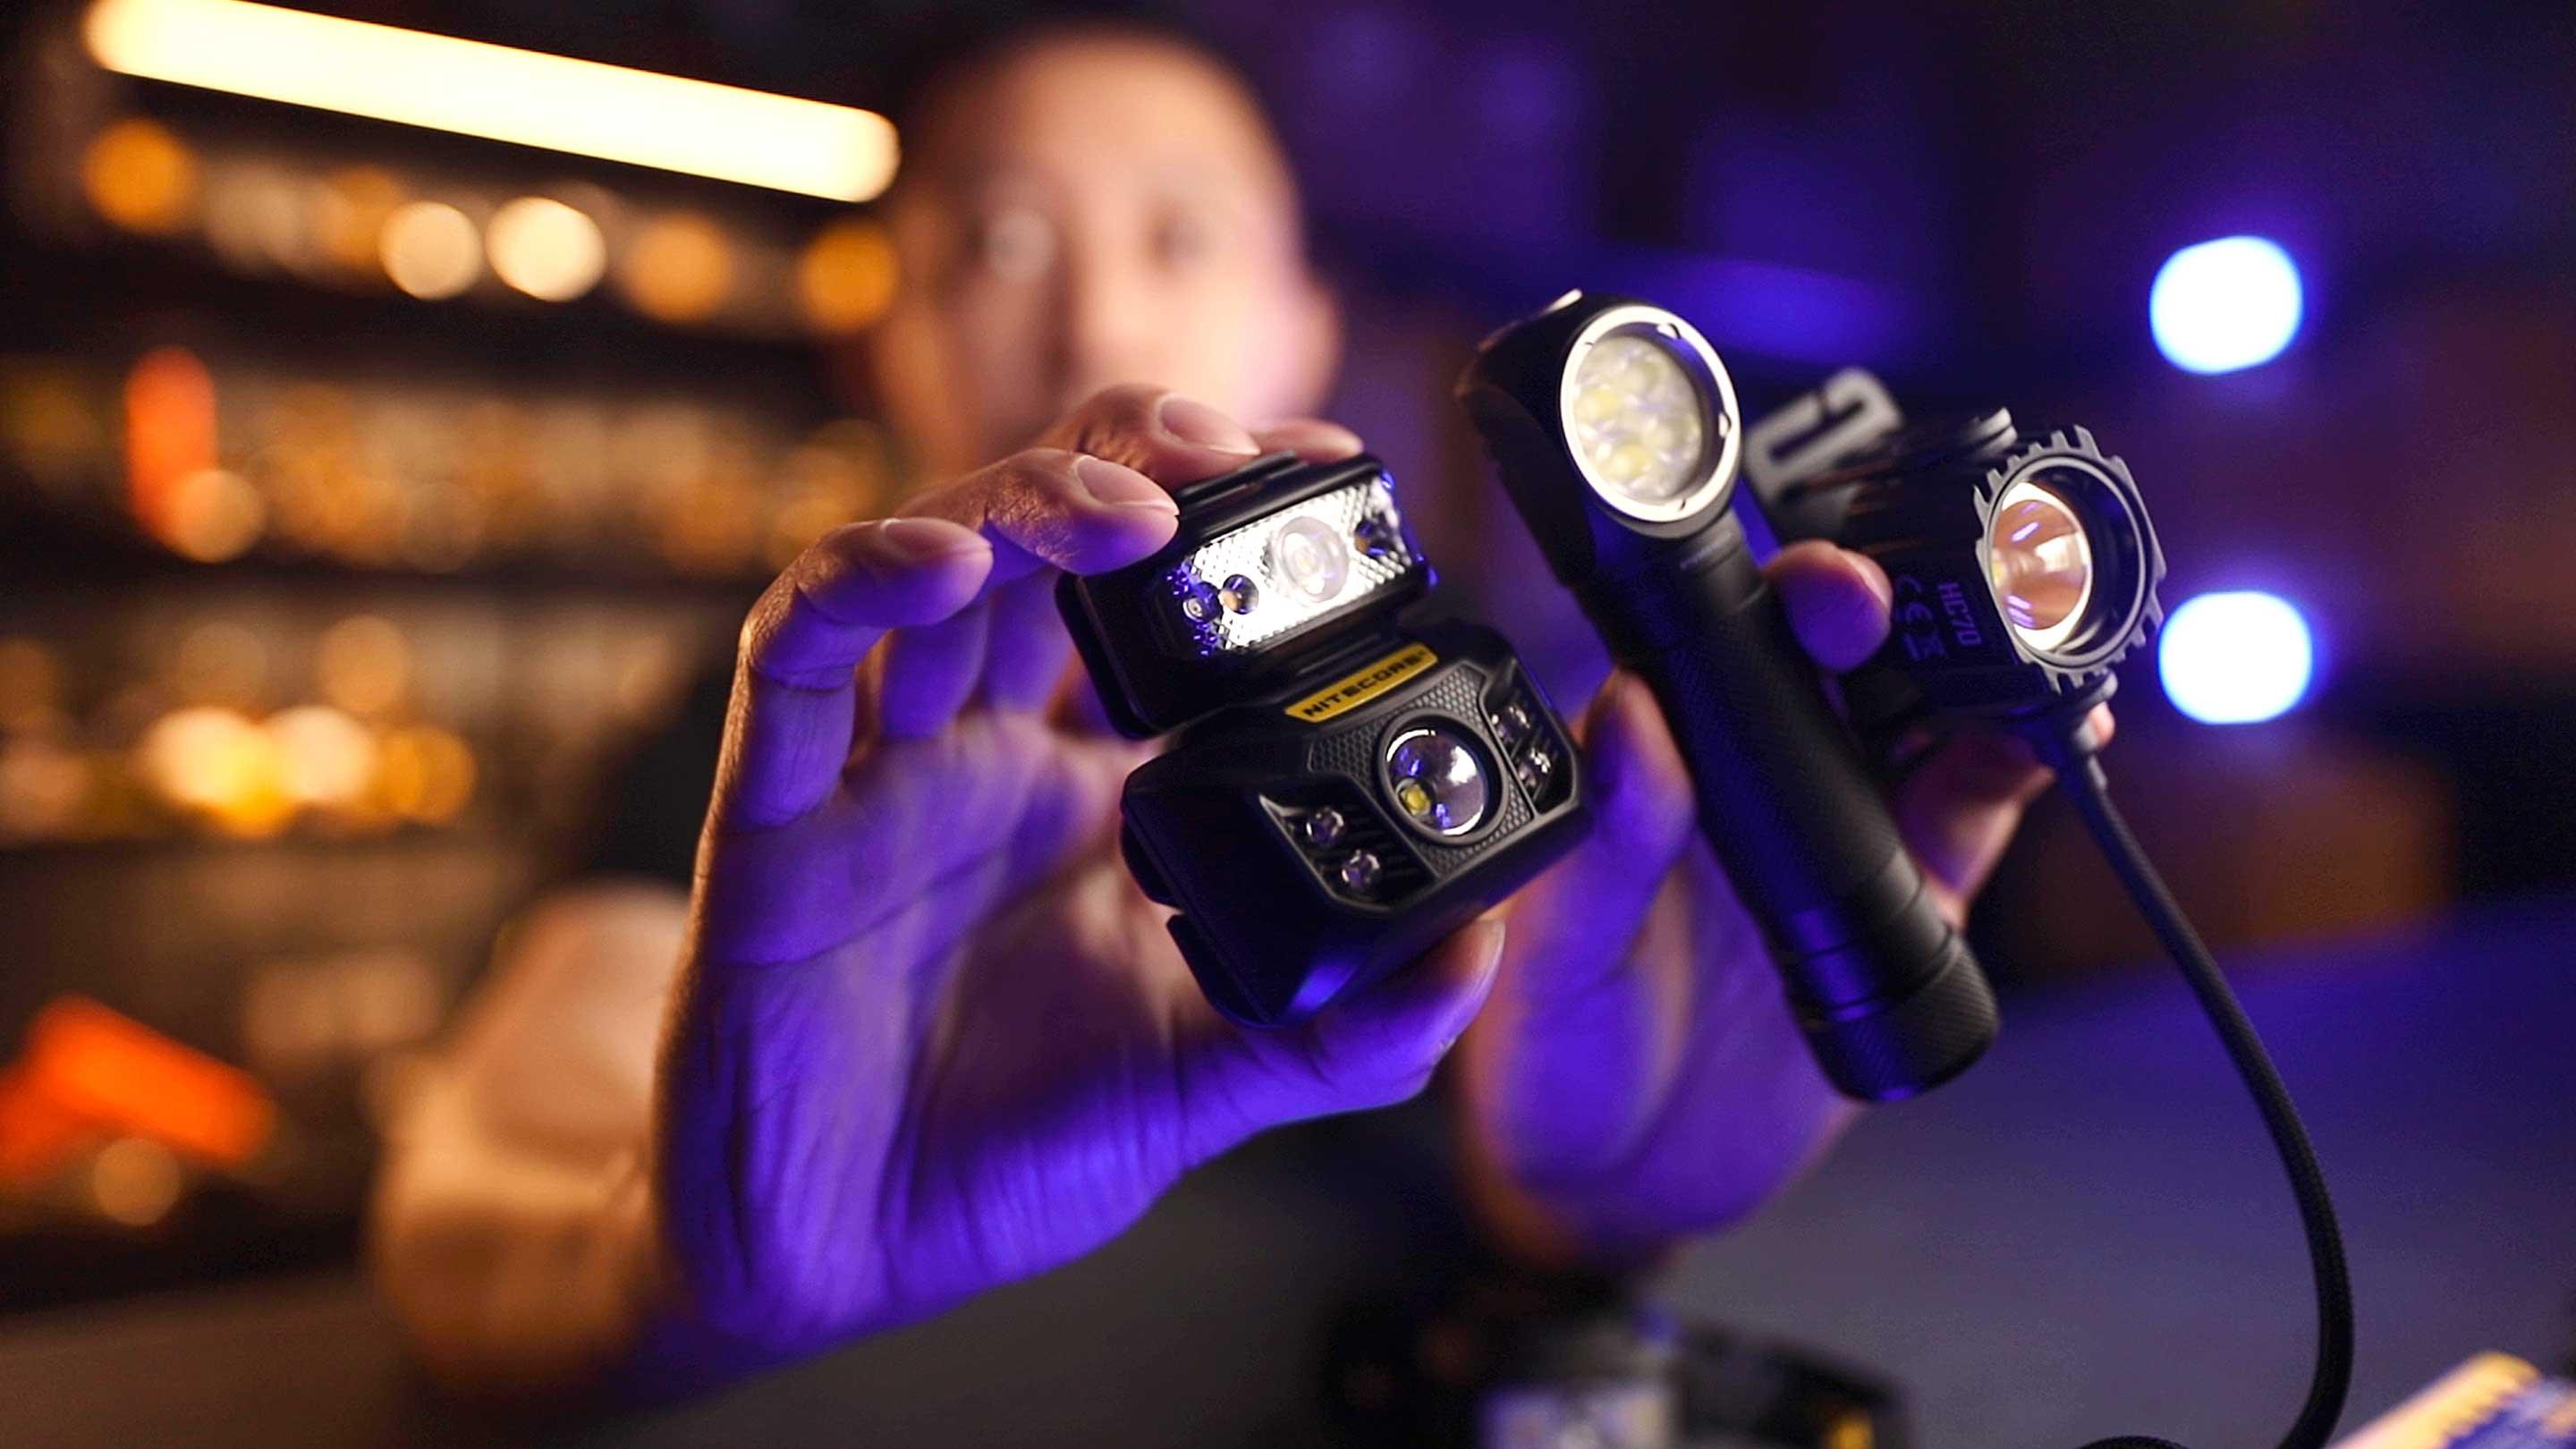
If your site already issues a light that does the job, keep it. If you are buying: the Nitecore NU30 headlamp, which gives 6 lumens white two presses from off, and the EDC09 L-angle light, stood on the floor or held by a colleague for light from the side. Do not put the EDC09’s magnet on or in the board.
See the kit ↓The job at a glance
A visual inspection of a low voltage switchboard after it has been made safe.
This page assumes the board is isolated, locked and tagged under your site’s safe work procedure. It does not cover live work, hazardous or classified areas, confined spaces, testing or blackout callouts. Only a Licensed Electrical Worker performs or supervises the work, and the employer carries out the risk assessment. See the WSH Council and MOM pages.
- 0.3 to 1 mviewing distances, from the identifier to the whole board
- 70 minour planning allowance for the four jobs, not a measured time
- 4 jobsidentifier, recess, photos, record
- 2 lightsworn near view and side light
- Read the identifierA glossy label, about 0.3 m away. The light must not leave a bright patch on it.
- Look into the recessesShaded edges and surfaces, about 0.6 m away. The light has to come from the side.
- Photograph an overview and a detailThe overview from about 1 m, then each detail with its location.
- Check the recordAt a bench away from the board: every label and detail legible and filed against the right location.
Your job, step by step
The minutes are our planning allowances. Your site and your board set the real times.


How much runtime does your light need?
About 60 minutes for the headlamp and 36 minutes for the side light, across a 70 minute inspection.
The inspection itself takes about 70 minutes: 8 minutes reading the identifier, 32 looking into the recesses, 20 on photographs and 10 reviewing the record. One charge of either light covers it many times over.
Hours of light
hours
Real use varies with temperature and how often you switch settings. The light gets dimmer as the battery drains.
How close you need to see
 0.3 m: the identifier
0.6 m: the recess
1 m: the overview
0.3 m: the identifier
0.6 m: the recess
1 m: the overview
Illustration, not a measured beam pattern.
What those distances look like
- 0.3 m: about a 30 cm ruler
- 0.6 m: two rulers end to end
- 1 m: about one long stride
For examples of what an inspection looks for, Schneider Electric’s inspection bulletin for its FlexSeT switchboards lists discoloration and flaking, damaged or missing parts, contamination, moisture, and pitting and corrosion. Your board and your site’s procedure set your own list.
Lumens do not tell you how the light behaves on a glossy label. Both lights give a wide, soft beam, which suits light at arm’s length. The NU30’s 6 and 50 lumen white is 4,500 K with a CRI of 90 or higher. The EDC09 has three white colours: warm 3,000 K (CRI 97), neutral 4,500 K (CRI 83) and cool 6,500 K (CRI 73). Press M to change between them. We have not tested either light on a glossy label, so try it on one of your own.
If the battery runs down, or the lamp fails
Both batteries are built in and cannot be swapped, so the other light takes over. Stop and regroup under your site’s plan.
The other light has its own battery. A torch you already own also works.

Practical checklist
- Charge both lights the night before. The NU30 takes about 2 hours on a 5V/1A adapter and the EDC09 about 1h20 on 5V/2A, both by USB-C.
- Lock the NU30 in your bag: hold both buttons for 2 seconds until the main light flashes 3 times. Do the same to unlock it.
- Keep the EDC09 off the board. It has a magnetic base, so stand it on the floor on its tail.
- The EDC09 can start bright from the slide switch. Point it away from your eyes and from shiny surfaces when you turn it on.
- Check the NU30’s headband fit over your helmet with your site, which approves helmet accessories.
The kit we’d pack

- 6 lumens white two presses from off, 50 lumens one press after
- About 32 hours on 50 lumens, on a built-in battery
- Handles heavy rain (IP66)
- 90 g with headband, charges by USB-C in about 2 hours

- The head turns 0 to 102 degrees for light from the side
- About 2h45 on its middle setting, on a built-in battery
- Handles heavy rain (IPX6)
- 114 g with a tail stand, charges by USB-C in about 1h20
Neither light has a removable battery, so there is no spare battery to buy. Each light is the other’s backup, and a torch you already own also works.
Already own a light? Check it against this list.
- It has a low setting you can reach from off without a brighter start.
- You can wear it or stand it up, so one hand stays free for the camera.
- You can aim a second light at a recess from the side.
- Its magnet, clip or mount stays off the board.
- Your site accepts it for this work.
Other lights that also work

- A removable 4,000 mAh 18650 battery, with a spare (NL1840HP) at S$59.
- 152 g with battery and headband, dust tight and waterproof (IP68).

- 600 lumens flood for 6h43, with a hook and a base that stands or turns up to 180 degrees.
- The base has strong magnets, so keep it off the board. Its colour rendering is not published.

- Colour rendering over 97 (Ra) and 2,500 K to 6,300 K, with a camera hot shoe and 1/4 inch screw mount.
- About 3.5 hours at 800 lumens. It has no water rating, so keep it dry.
Runtimes are for the setting and battery listed.
What the sources describe
-
Better Home Technology, Adelaide switchboard fire risk case study
Describes an overheated or melted main switch found on inspection while parts of the board stayed energised, with a close detail photo and an overall board photo.
-
Mike Henneker, IRINFO, Pay Attention or Pay a Price, 1 July 2024
A first-person account of repeat thermographic surveys, visible discoloration and scorching, and a report to a maintenance manager before a later failure. Thermography is outside this guide.
These are accounts from Australia, not Singapore, and not endorsements of any product. Neither author used Nitecore gear. Neither says anything about lighting.
Questions
Can I use my phone’s flash for the photos?
We would not rely on it. The phone is in one hand taking the photo, and its flash lights the label from the same direction as the lens. A laminated label throws a bright patch back at the camera, and moving the light off to the side is the fix. The EDC09 on the floor gives that side light.
Is this light certified for hazardous areas?
No. None of the lights on this page is certified for explosive atmospheres. The NU30 and EDC09 manuals both say not to use the light to illuminate flammable or explosive materials. A water or drop rating (IP66, IPX6) does not make a light suitable for a hazardous area, a confined space or arc rated work, and this page does not cover those places.
Can I stick the EDC09 to the board?
No. The EDC09 has a magnetic base, and it stays off the board. No loose torch, magnet, cable or metal accessory goes inside a real switchboard in this guide. Stand it on the floor or have a colleague hold it. Anything attached to real electrical equipment needs your site’s acceptance first.
Which colour setting shows discoloration best?
We do not say any setting shows it best. The colour figures for both lights are in the How close you need to see section. Compare the settings on your own samples, and check each photo on the camera screen, because a camera can render colour differently from your eye.
How long does one charge last?
One charge of each light covers the inspection many times over. The runtime chart has the numbers, and the kit section says why there is no spare battery.
Can I wear the NU30 on a helmet?
The NU30 is worn on its headband. Whether it fits your helmet is for your site to approve, because helmet accessories need acceptance from the helmet maker and the site.
My site issues a light. Do I need this?
Not necessarily. If the light your site issues does the four jobs, keep it, because the site’s accepted equipment comes first. The checklist in the kit section tells you what to look for.
What does this guide not cover?
It covers lights for a visual inspection of a switchboard that has already been made safe under your site’s procedure. It does not cover isolating or proving a board dead, removing covers, repair, re-energising, electrical testing, thermography, live work, blackout callouts, classified or hazardous areas or confined spaces. Only a Licensed Electrical Worker performs or supervises the work.
Questions about your own gear? Contact the team.
Sources and credits
- WSH Council, Electrical Safety. tal.sg
- Ministry of Manpower, Risk management. mom.gov.sg
- Energy Market Authority, Engaging Licensed Electrical Workers. ema.gov.sg
- Schneider Electric, FlexSeT Switchboards Instruction Bulletin JYT1078000, Maintaining the Switchboard. productinfo.se.com
- Better Home Technology, Adelaide switchboard fire risk case study. bhtechnology.com.au
- Mike Henneker, IRINFO, Pay Attention or Pay a Price, 1 July 2024. irinfo.org
- Nitecore, NU30 manual. nitecore.com
- Nitecore, EDC09 manual. nitecore.com
- Nitecore, NWL20 manual. nitecore.com
- Nitecore, SCL10 manual. nitecore.com
- Nitecore, HC65 UHE manual. nitecore.com
- Nitecore Singapore, headlamp and work light price snapshot, 5 and 6 Oct 2026. nitecore.sg